Data Environments
While a Dub is tied to a single source database instance, there are many cases where working with just one source isn’t enough.
For example:
- You might have a heterogeneous setup where your application relies on multiple databases - such as both PostgreSQL and MongoDB
- You might run multiple instances of the same database type - such as different PostgreSQL instances for separate microservices - that all need to be in sync for the app to function properly
- Or you may need to test migrations across databases deployed in different regions.
In these scenarios, Data Environments let you group multiple Dubs and create coordinated snapshots across them.
This ensures all snapshots are taken at the same time, preserving consistency across related systems.
Data environments can be managed through the UI or applied programmatically via the API.
Configuring a Data Environment
To create a data environment:
- Go to the Data Environments screen.
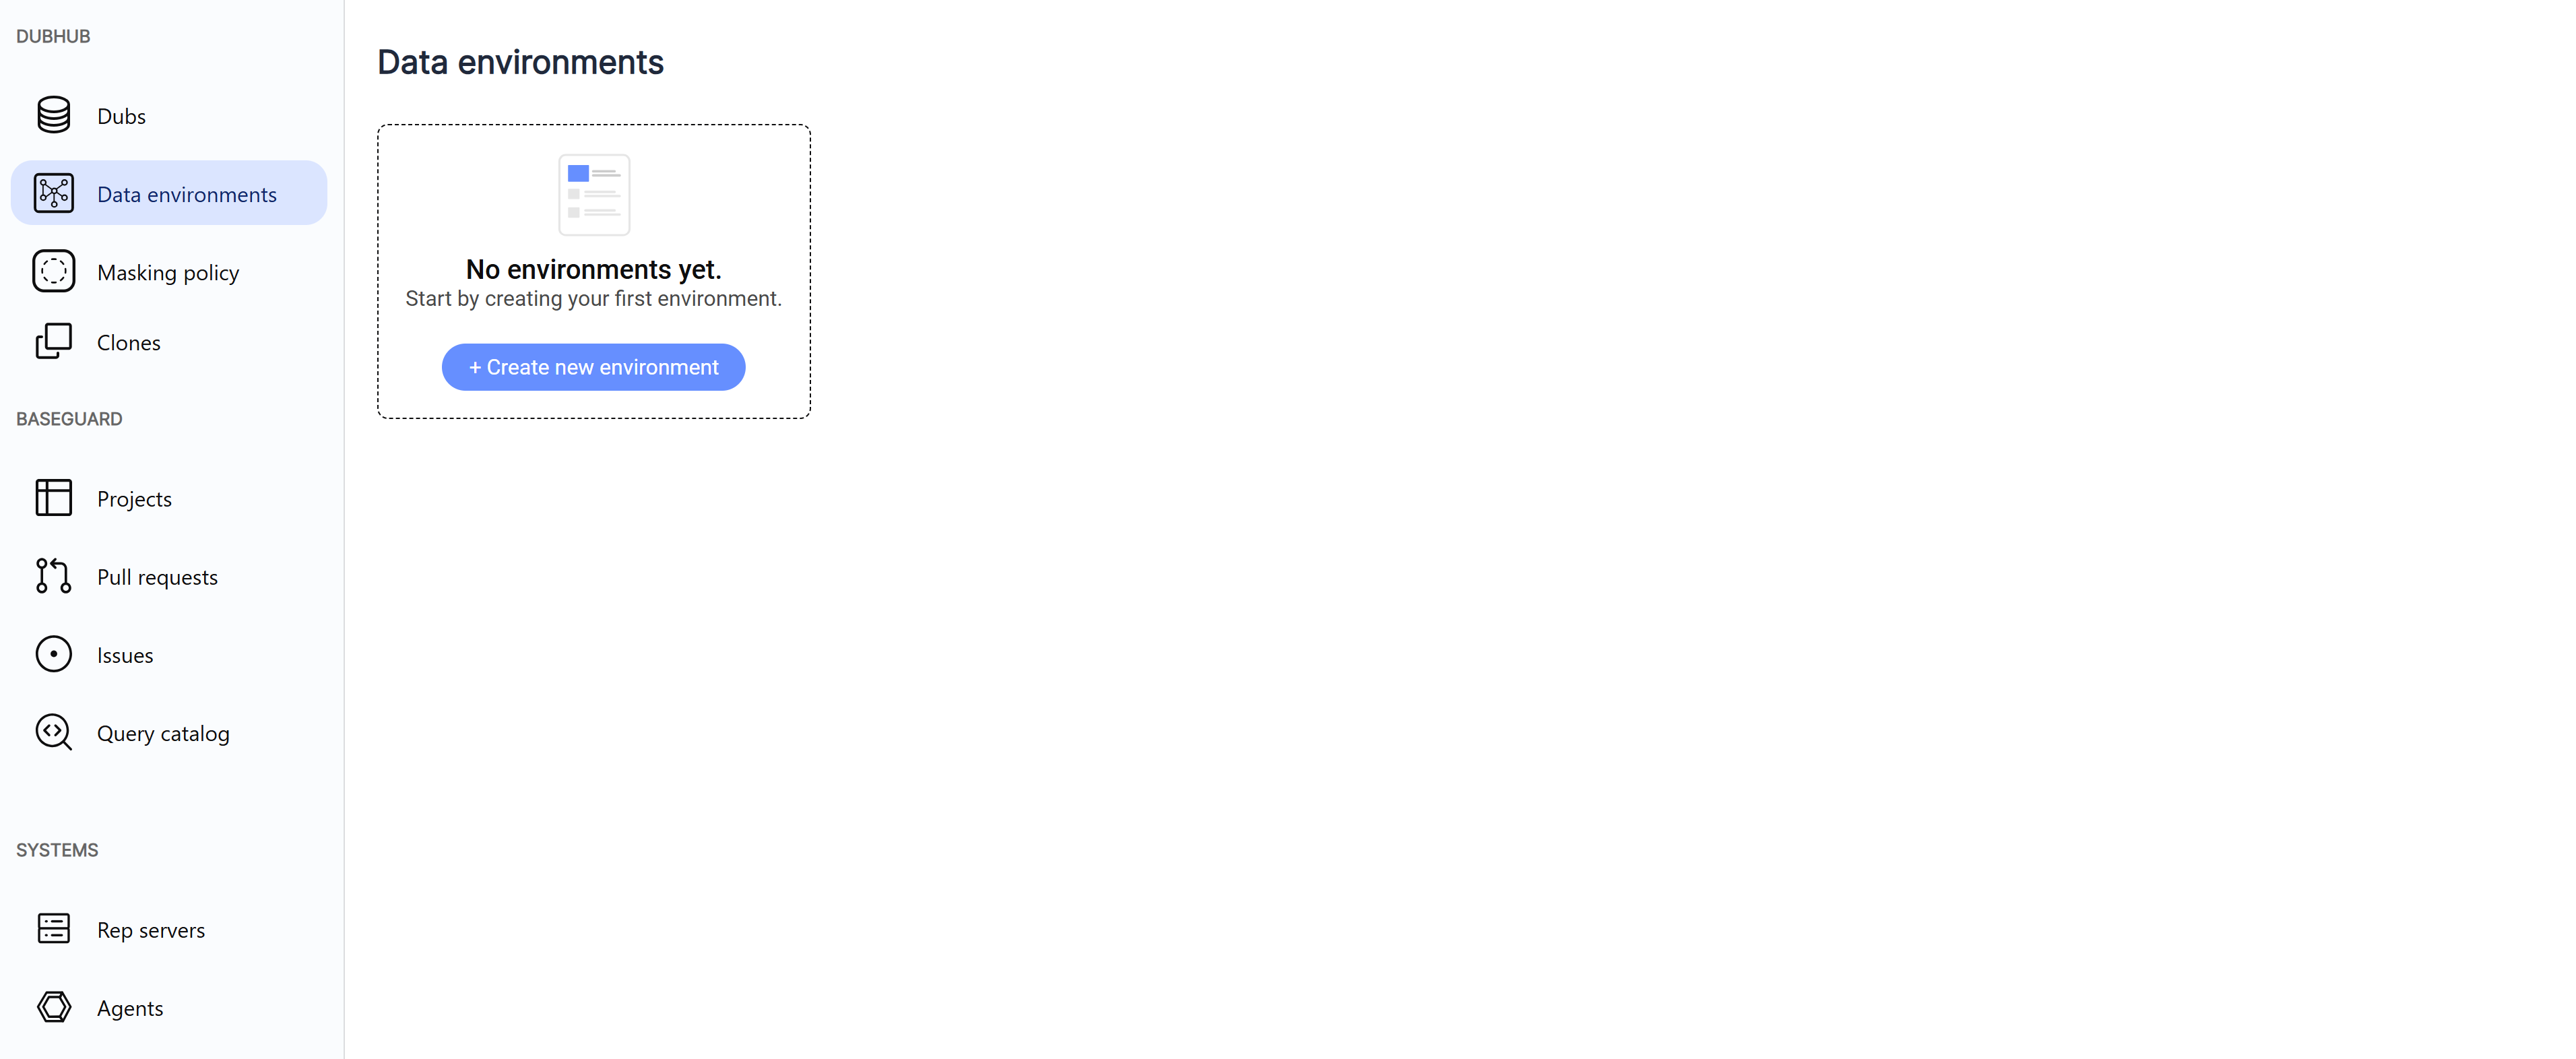
- Click + Create New Environment.
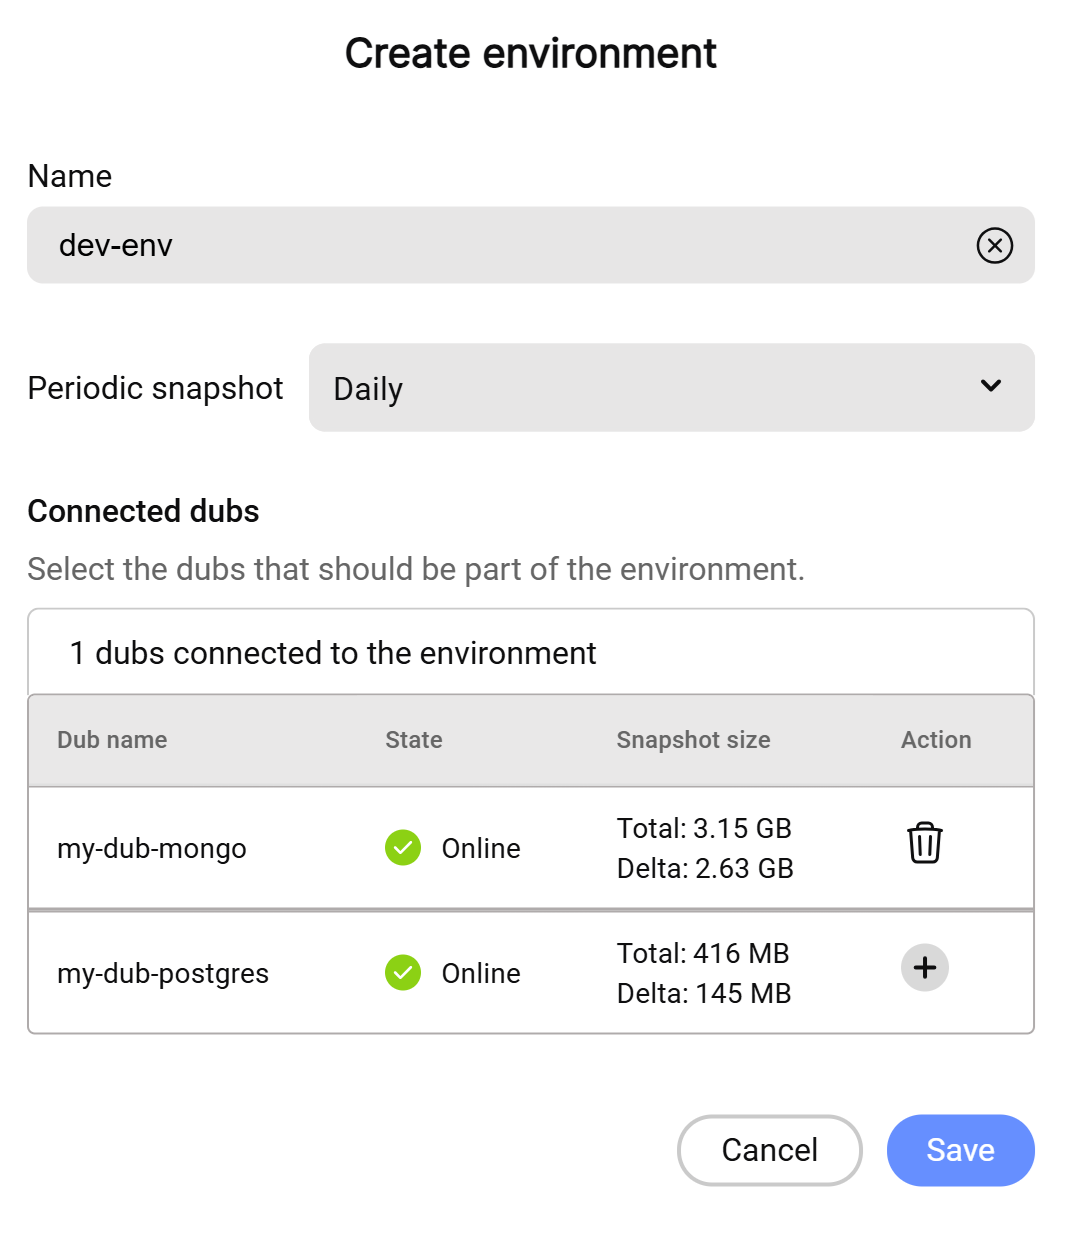
- Enter a name for the environment.
- Select the Dubs you want to include by clicking on the "+" icon in the Actions column. To remove a Dub, click the trash icon.
- Choose a snapshot schedule for the environment.
- Click Save.
Triggering an Environment Snapshot
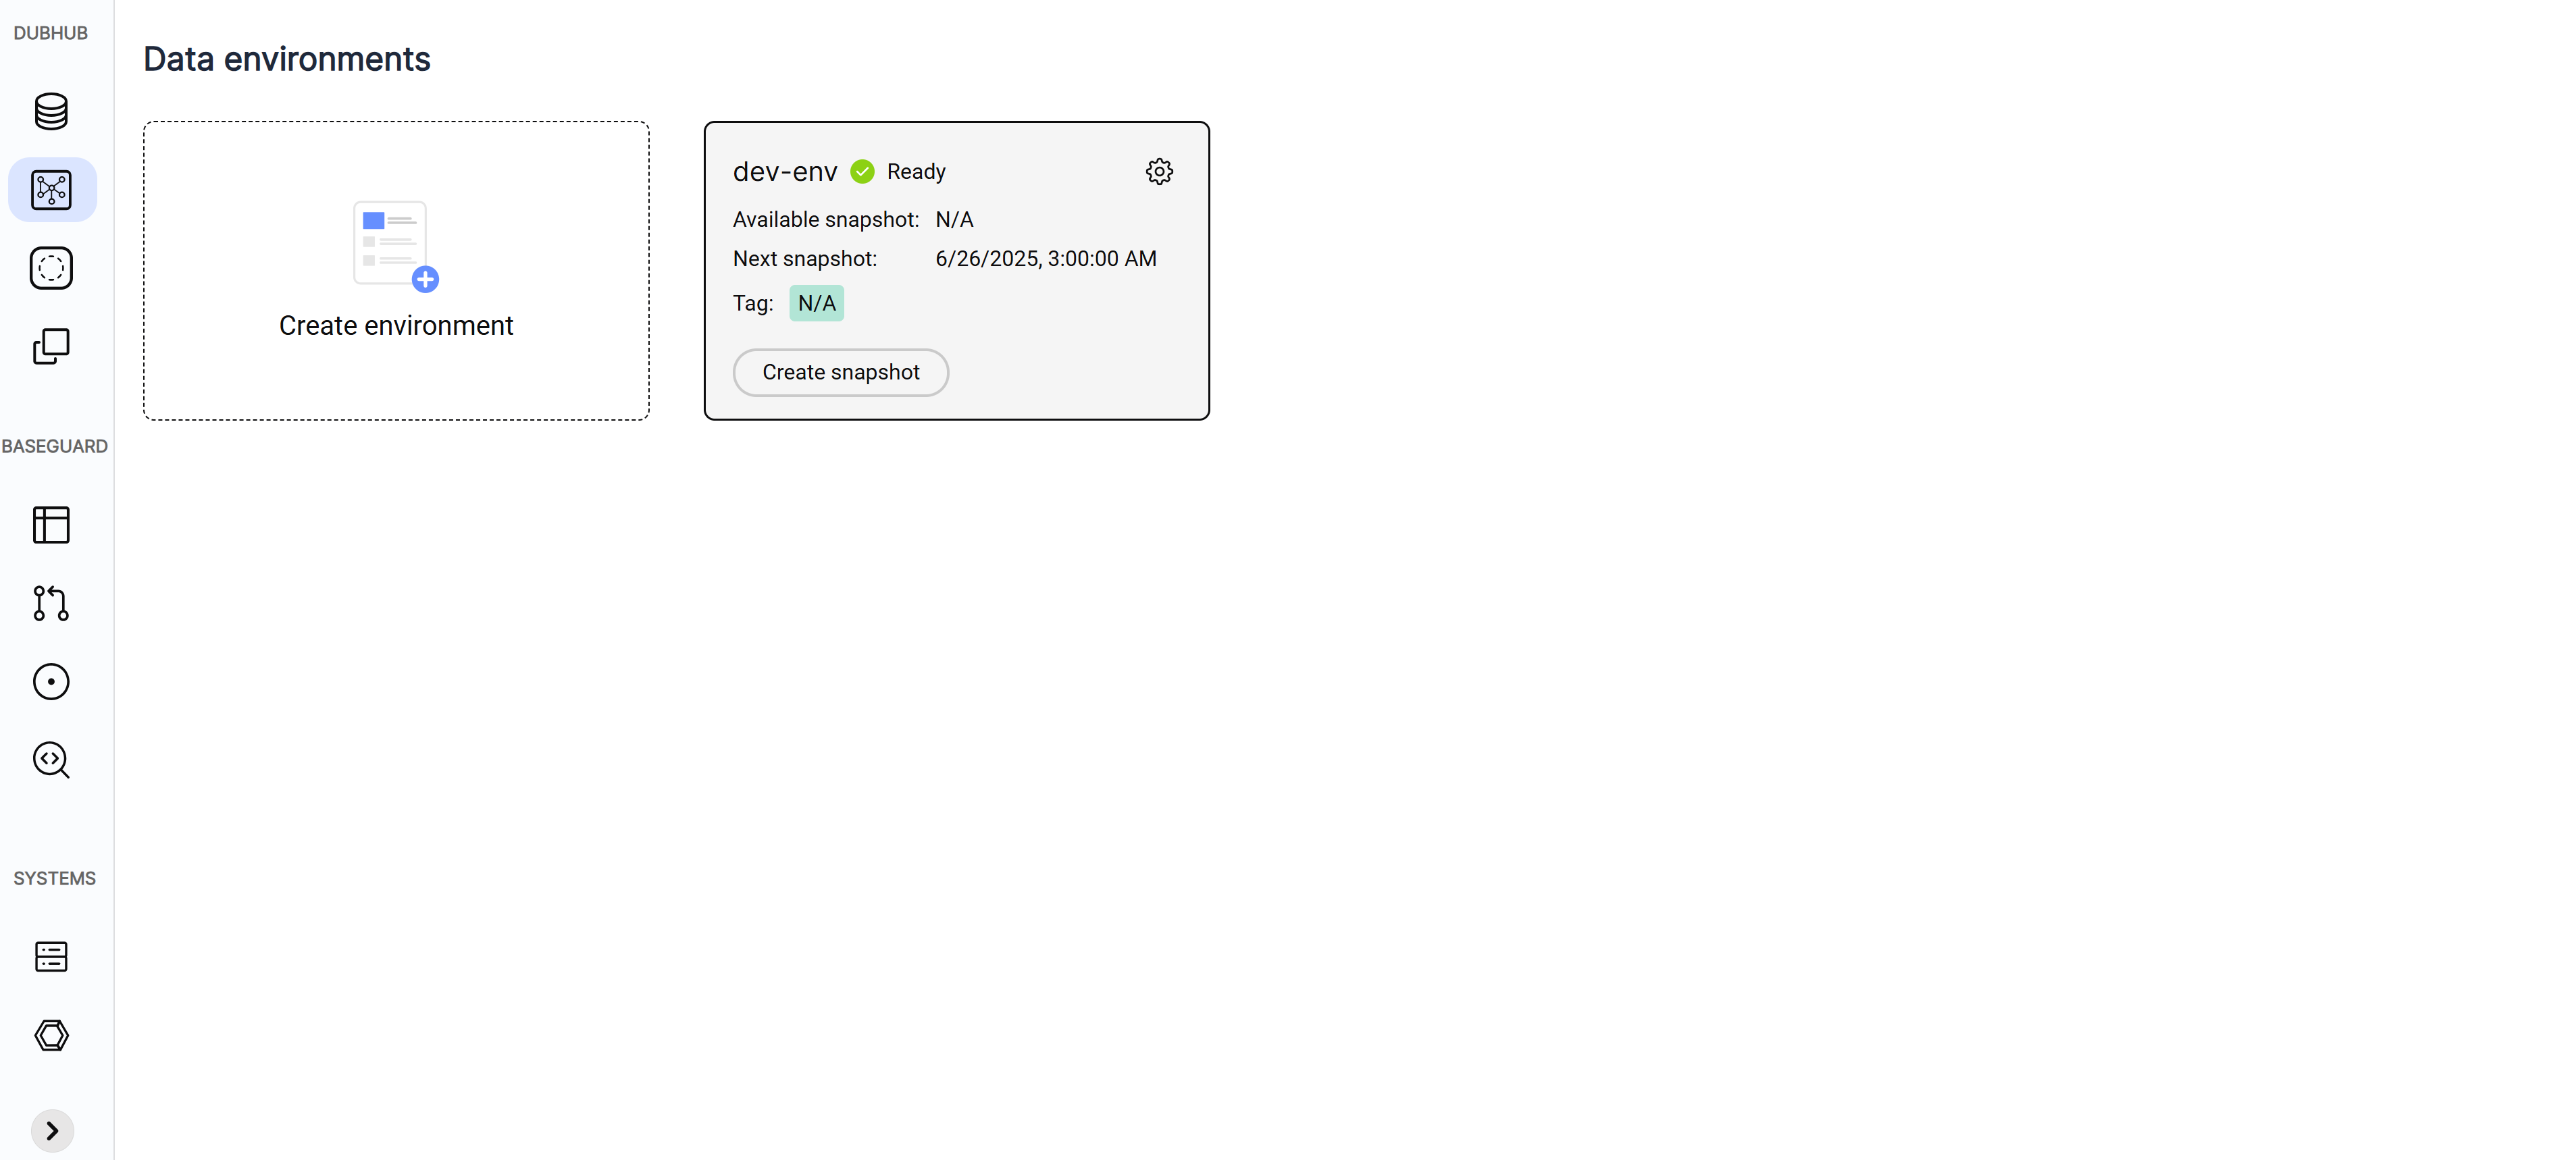
To trigger a snapshot for a data environment:
- Go to the Data Environments screen.
- Select the environment you want to snapshot.
- Click Create Snapshot.
- To view snapshot history, go to the Snapshot Log screen.
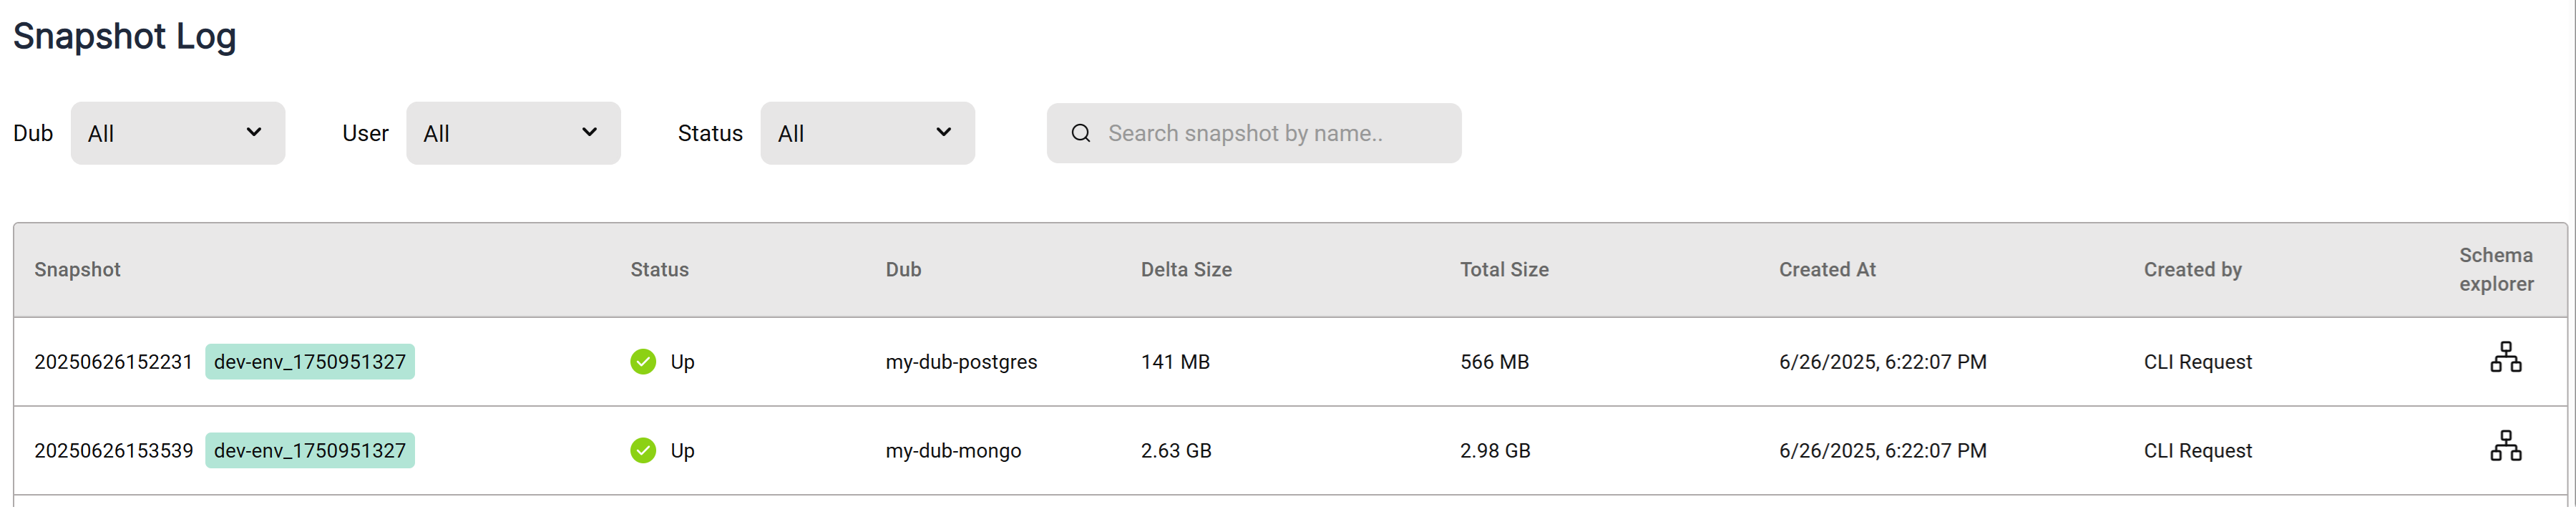
- The Docker images pushed to ECR will be tagged with the environment snapshot name in addition to the standard tags.
Managing a Data Environment
To update an existing data environment:
- Go to the Data Environments screen.
- Select the environment you want to configure.
- Click Edit in the side panel.
- You can update the name or snapshot schedule.
- Select the Dubs you want to include by clicking on the "+" icon in the Actions column. To remove a Dub, click the trash icon.
- Click Save.